Have you ever thought about incubating and raising your own chickens? Not only can this provide you with a steady source of fresh eggs or meat, but it also allows you to have a closer connection to your food sources and know exactly where your food comes from. In this blog post, we'll walk you through the process of incubating chicken eggs and raising chicks in a brooder box. From preparing the incubator and setting up the brooder box to caring for the chicks as they grow, we'll cover everything you need to know to successfully raise your own flock of chickens. So if you're ready to embark on this rewarding and sustainable journey, let's get started!
If you're new to incubating chicken eggs, it may seem like a daunting process at first. But with the right tools and knowledge, it can be a rewarding experience that leads to a healthy flock of chickens. Here are the steps to follow when incubating chicken eggs:
Prepare the incubator: Before you start incubating eggs, make sure your incubator is clean and disinfected. This will help prevent the spread of bacteria and disease. Follow the manufacturer's instructions for cleaning and set-up.
Ideal temperature and humidity: The ideal temperature for incubating chicken eggs is around 99.5°F (37.5°C). Humidity should be around 50-55% during the first 18 days of incubation and then increased to 65-75% during the final three days. You can measure temperature and humidity using a thermometer and hygrometer.
Set up the incubator: Place the incubator in a stable location, away from drafts and direct sunlight. Follow the manufacturer's instructions for setting up the incubator and placing the eggs inside.
Place the eggs: Place the eggs in the incubator with the larger end facing up. You can mark each egg with an X on one side and an O on the other side to help you keep track of which side you turned the egg on. Turning the eggs regularly, such as three times per day, is important to prevent the embryo from sticking to the shell.
Monitor the eggs: Monitor the temperature and humidity regularly and adjust as needed. Candling the eggs, which involves shining a bright light on the egg to check for development, can also help you monitor the progress of the embryos.
Incubation period: The incubation period for chicken eggs is around 21 days. During this time, the embryos will develop and eventually hatch from the eggs.
Common problems: There are some common problems that may arise during incubation, such as low humidity, temperature fluctuations, or eggs that don't hatch. These can be caused by a variety of factors, such as a malfunctioning incubator or poor egg quality. It's important to monitor the incubator regularly and address any problems as soon as possible.
By following these steps and monitoring the incubator regularly, you can successfully incubate chicken eggs and prepare for the arrival of your new chicks. In the next section, we'll cover what to do once the eggs start hatching and how to care for the chicks in a brooder box.
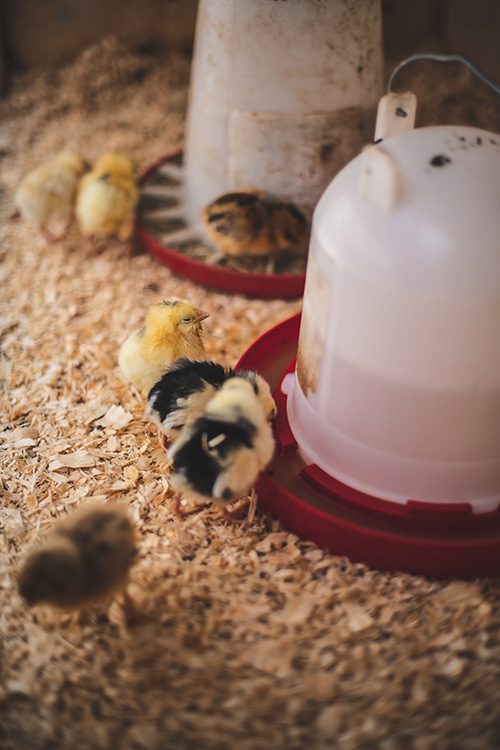
Once your chicks have hatched, it's time to transfer them to a brooder box. A brooder box is a safe and warm environment where the chicks can grow and develop during their first few weeks of life. Here are the steps to follow when raising chicks in a brooder box:
Prepare the brooder box: Choose a box or container that is large enough to accommodate your chicks as they grow. The brooder box should be lined with bedding such as wood shavings or straw to keep the chicks warm and provide traction for them to walk. A heat source, such as a heat lamp, should be set up to maintain the ideal temperature.
Ideal temperature: The ideal temperature for chicks in a brooder box is around 95-100°F (35-38°C) for the first week, gradually reducing by 5°F (3°C) each week until it reaches around 70-75°F (21-24°C). Make sure to monitor the temperature regularly using a thermometer.
Water and food: Provide your chicks with fresh water and food at all times. A waterer and feeder specifically designed for chicks can be used to prevent them from drowning or spilling their food. Starter feed is recommended for the first few weeks, as it contains the necessary nutrients for healthy growth.
Lighting: Provide the chicks with a light source for 24 hours a day during the first few days to help them find the food and water. After that, a 12-14 hour light/dark cycle is recommended.
Ventilation: Proper ventilation is important to prevent the buildup of ammonia and other gases. Make sure the brooder box is well-ventilated, but without any drafts that may harm the chicks.
Cleaning: Regularly clean and change the bedding in the brooder box to maintain a clean and healthy environment for your chicks.
Socialization: Chicks are social creatures and thrive in groups. Provide them with enough space and companionship to prevent stress and encourage healthy socialization.
By following these steps and monitoring the chicks regularly, you can successfully raise your chicks in a brooder box and prepare them for their eventual transition to the coop. With patience and care, you can enjoy the benefits of raising your own flock of chickens.
Here are some additional tips to help ensure successful chicken egg incubation and raising:
Quality of eggs: The quality of the eggs you use for incubation is important. Choose fresh, fertile eggs from healthy chickens to increase the chances of successful hatching.
Egg turning: Consistent egg turning is crucial for the development of the embryo. Set a schedule for turning the eggs and stick to it, such as turning them three times per day.
Candling: Candling the eggs can help you monitor the development of the embryos and identify any problems. Do this regularly, but be gentle and avoid jostling the eggs too much.
Ventilation during incubation: Proper ventilation during incubation is important to ensure healthy development of the embryos. Make sure the incubator has adequate ventilation, but without any drafts.
Nutrition for chicks: Providing proper nutrition for your chicks is crucial for healthy growth and development. Make sure they have access to clean water and starter feed formulated specifically for chicks.
Temperature monitoring: Temperature monitoring is crucial during incubation and raising. Use a reliable thermometer to monitor the temperature in the incubator and brooder box, and adjust as needed.
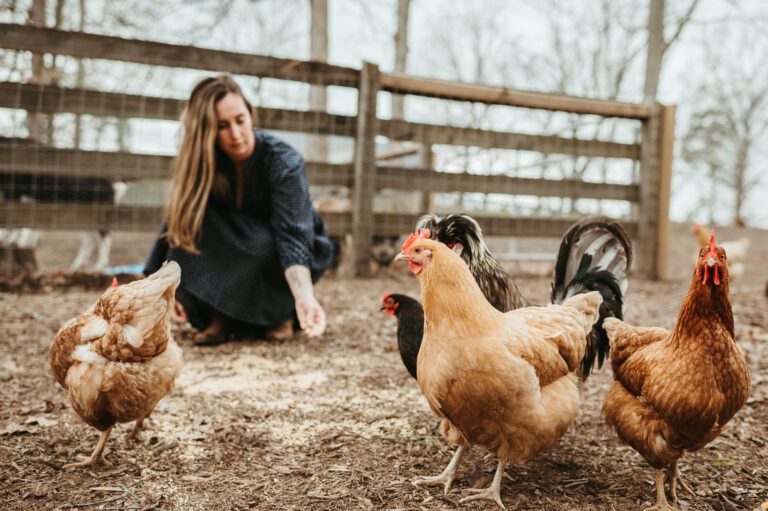
Socialization for chicks: Chicks are social creatures and need interaction with other chickens to thrive. If possible, introduce them to the rest of your flock gradually, once they are old enough and have been vaccinated.
By following these tips and guidelines, you can increase the chances of successful chicken egg incubation and raising. Remember to be patient, observe your chicks closely, and address any issues promptly. With the right care and attention, you can enjoy the many benefits of raising your own flock of chickens.